


Do-It-Yourself Plastic Wrap Screen Protector
How I Made a Screen Protector for My Cell Phone Using Ordinary Plastic Wrap
My cell phone is so old that I couldn't find a screen protector at local retail stores. I purchased my Samsung Focus mobile phone over four years ago with a package of three screen protectors. Believe it or not, they've lasted for all of that time until the last one recently started to bend and separate from the screen. I went from one store to the next trying to find a new commercially-available screen protector with no success.
Most people would just break down and buy a new phone (or purchase screen protectors on the internet). But after repairing the power button on my phone (see my web page article), I thought I could solve my screen protector problem too. So I set out to make a do-it-yourself screen protector using the plastic wrap that we use every day in the kitchen.
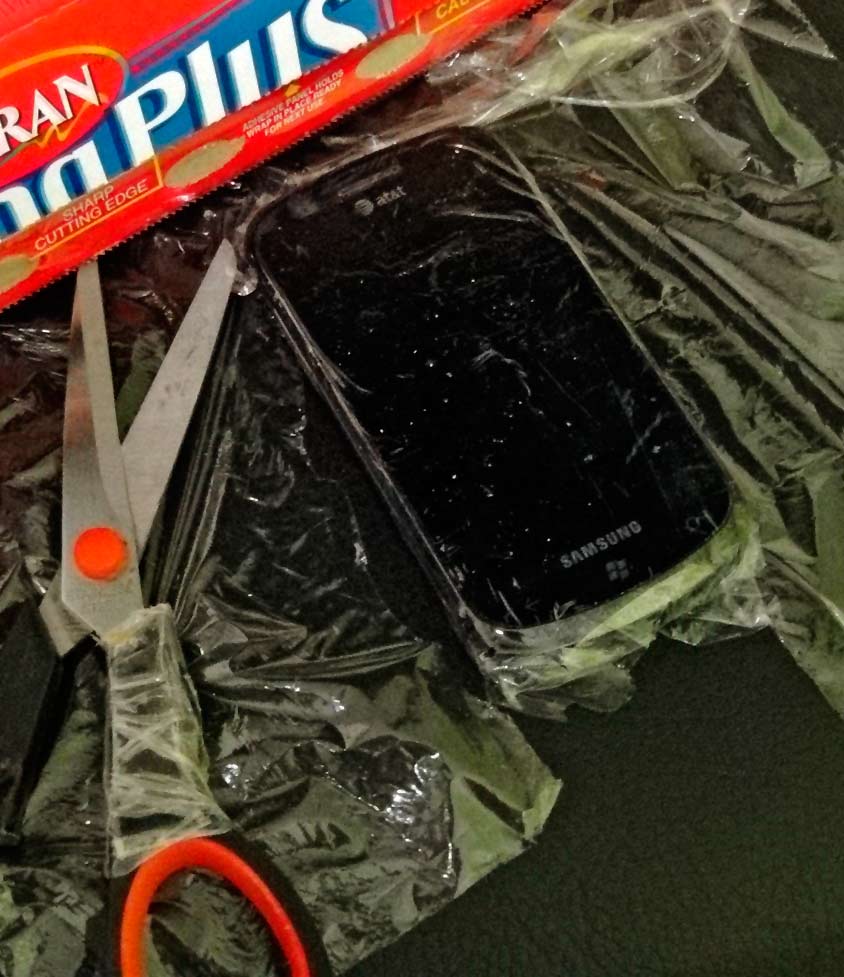
I went to the grocery store and inspected several different brands of plastic wrap. I settled on Saran ClingPlus for no particular reason at all. (UPDATE 12-06-14: Glad ClingWrap works better than Saran ClingPlus.) As you'll notice below, this brand ended up having plenty of cling, but it was a bit rough-textured. No doubt this brand works great for food, but I doubt it was meant to also function as a great substitute for a real screen protector. But in a pinch, it will do just fine.
The process of applying it to your cell phone screen is relatively easy.
- Clean the screen thoroughly. I used rubbing alcohol and a paper towel.
- Cut the plastic wrap about three inches bigger than the screen. You need this much slack to get a good grip with your fingers. Be careful not to leave fingerprints on the part that will contact the screen.
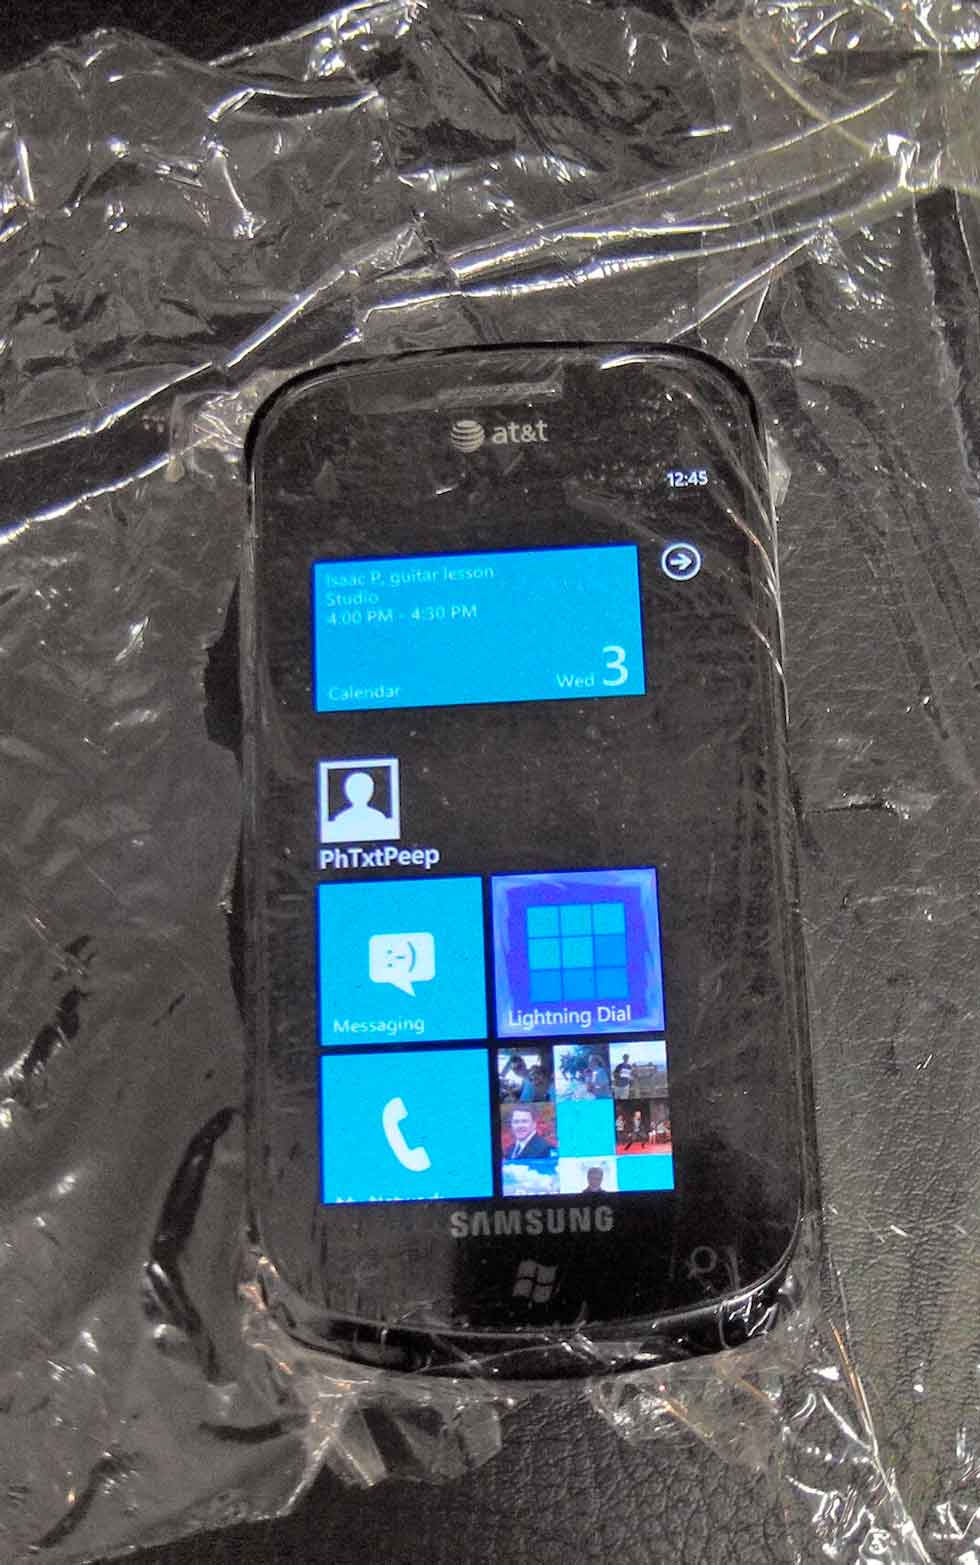
- Stretch the plastic wrap so that it clings without wrinkles. I tried to smooth out the wrinkles with a credit card first, but I found that it tore through the plastic. Stretching it using my fingers worked fine. I had to be patient and work around each side of the screen.

- Smooth out any air bubbles using your fingers.
- Cut the plastic into a smaller size just a bit bigger than the screen. I used an X-Acto knife.
- Wrap the excess plastic around the side and back of the phone to keep it held taut.
- Reinstall the protective phone cover (if you have one) to help hold the plastic in place. I carefully cut holes in the plastic for the USB port and audio jack. I found that the power, volume, and camera buttons worked fine even though they were covered in plastic.
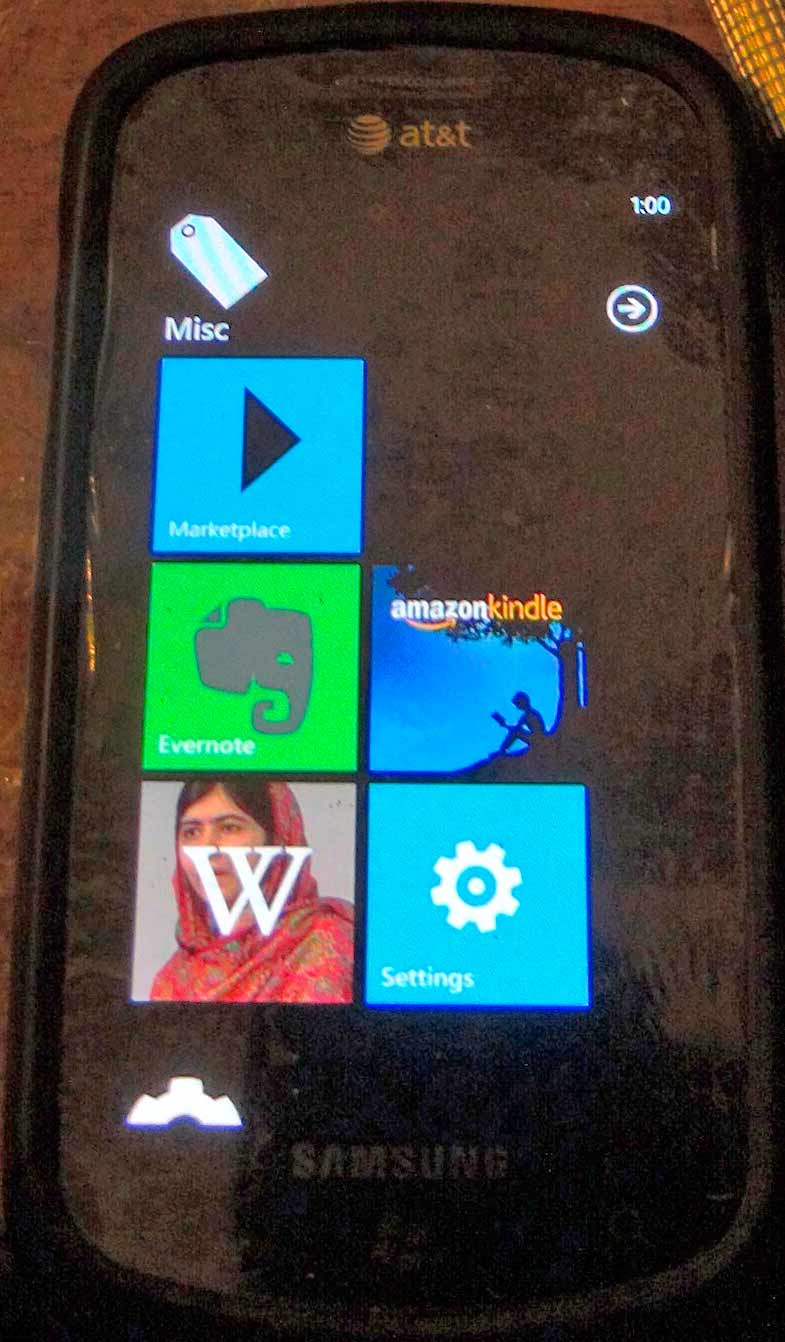
Although plastic wrap works reasonably well as a screen protector, it has a few drawbacks. (UPDATE 12-06-14: Glad ClingWrap works better than Saran ClingPlus.) First, it's not as rugged as a normal screen protector so you have to be cautious. Second, it has a rough texture that takes a little getting used to. Third, in bright light you can see the rough texture, which might be a bit distracting to the eyes. Fourth, it might blur the screen slightly. But if you're a bit of a cheapskate like me, and a proud do-it-yourselfer, you might be pleasantly surprised at how well this idea works, despite its flaws. Plus you'll never run out of screen protectors, as long as they keep selling plastic kitchen wrap!
Jeff Anvinson, Owner/Operator of JLA Music
Website and most graphics are created inhouse by Jeff Anvinson, Owner/Operator of JLA Music
Some graphics are purchased from Can Stock Photo, used by permission, and are Copyright
© Can Stock Photo
JLA Music takes care not to infringe on anyone's rights. Please contact us at jla@jlamusic.com if you have questions.
Copyright 2023 © Jeffrey L Anvinson