The Basics of Video Editing

(click here to go back to the main video editing page)

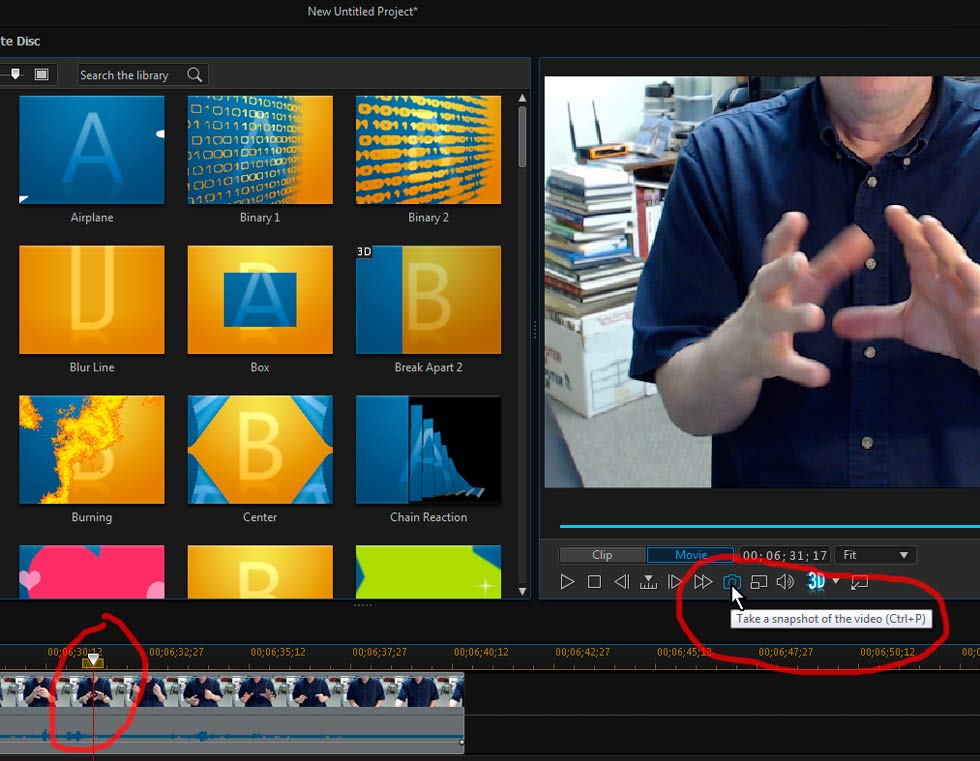
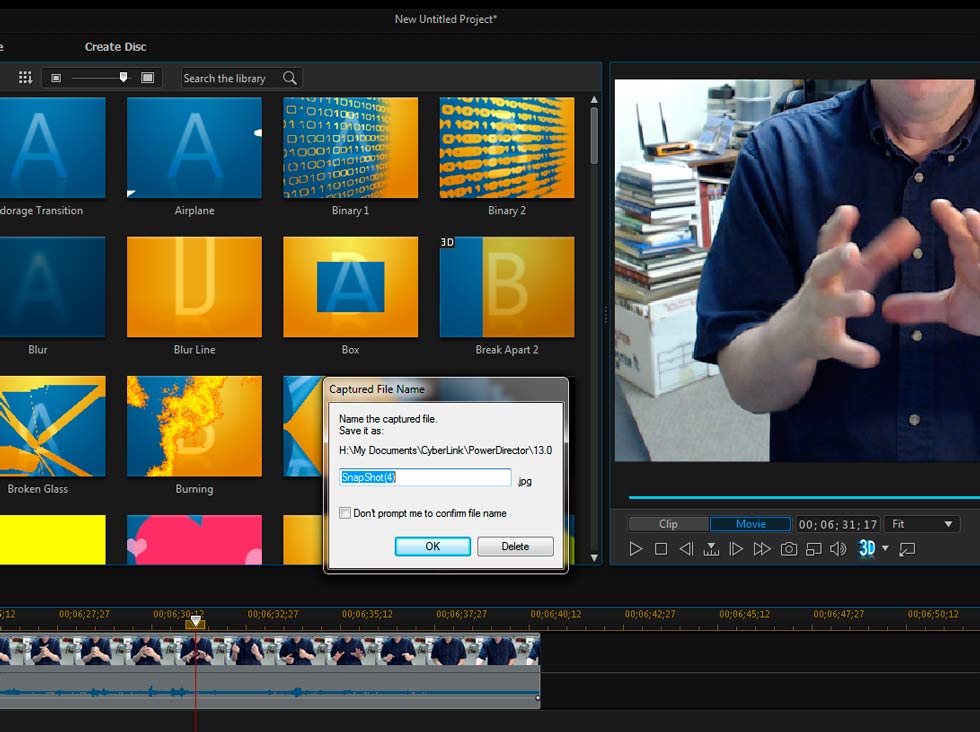
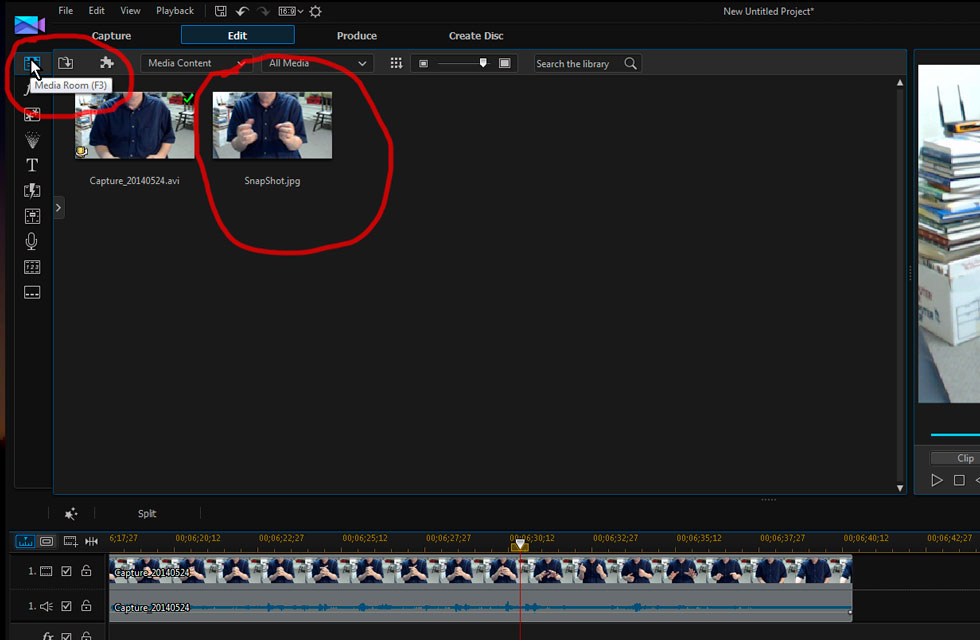
Skill Thirty: Taking a Snapshot of a Clip

What if you want to display a still photo of a particular part of a clip you're working on? Perhaps you want the ending credits to roll while the very last scene of the movie is held in suspended animation. It's easy! First, simply select the spot in the timeline where you want to take a snapshot and click the "Take Snapshot" icon. This icon is located under the preview screen.

Video Editing: PowerDirector, Take a Snapshot

A dialog window will then pop up asking you to name the snapshot. You can accept the default name or type in one of your own. Then click on "OK".

Video Editing: PowerDirector, Save Snapshot

In the blink of an eye, you'll see a window open and close showing that the snapshot is being saved. It happens so fast that you probably won't notice where your snapshot was saved to. Take a look in your media room. (Remember the media room?) Click on the media room icon on the top left side of the PowerDirector window and your snapshot will be there. Now you can drag the snapshot into your timeline where you want it to be displayed. HINT: Once the snapshot is in your timeline, you can crop it to make it display for a longer or shorter time.

Video Editing: PowerDirector, Snapshot Saved to Media Room
(click here to go back to the main video editing page)
Copyright © 2014 JLA Music  *  Updated November 9, 2015 7:18 PM
Website and most graphics are created inhouse by JLA Music
Some graphics are purchased from Can Stock Photo, used by permission, and are Copyright © Can Stock Photo
JLA Music takes care to not infringe on anyone's rights. Please contact us at jla@jlamusic.com if you have questions.